|
Listen to This Blog
Getting your Trinity Audio player ready...
|
Disclosure: This post may contain affiliate links, meaning we get a commission if you decide to make a purchase through our links, at no cost to you. Please read our disclosure for more info.
Last Updated on May 18, 2024 by Canny Costumes
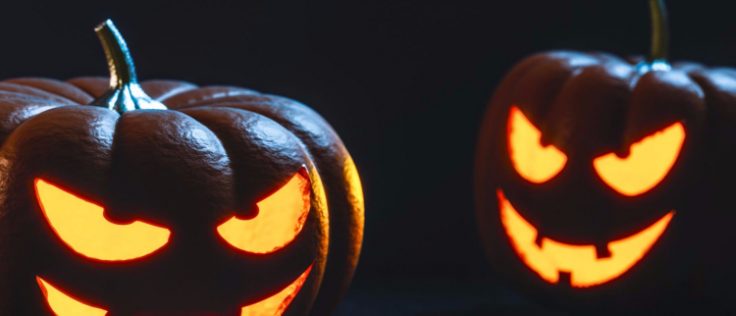
One of the greatest time honored Halloween traditions is the carving a Jack-O-Lantern to place on the front porch. Many families make carving a pumpkin a part of their Halloween traditions to buy a pumpkin and carve creepy or funny faces into it.
Creating your own Jack-O-Lantern masterpiece is easy. You can come up with your own Jack-O-Lantern designs, or you can look online for different free printable templates if you want something truly different and spooky. However, even the perfect design Jack-O-Lantern will flop if you don’t follow these pumpkin carving techniques. Here are some tips to help you create the perfect Jack-O-Lantern.
Page Contents
1. Find the Right Pumpkin
Of course, the perfect Jack-O-Lantern starts with the perfect pumpkin. Find a pumpkin that is large enough and is the proper shape to hold your desired design ideas. You will want to examine the pumpkin for any bruises or defects that could cause the pumpkin to deteriorate too fast.
2. Clean Out the Pumpkin
The start of any great Jack-O-Lantern begins by scooping out all of the seeds and goop that is inside. You should go a step further once the seeds have been removed and continue to scrape the inside until you have about a fourth of an inch of pumpkin rind left. Why? Because a thinner pumpkin is easier to carve, especially if you are hoping to successfully do a lot fine detailing in your carving. Thin pumpkin walls will also help your Jack-O-Lantern keep longer after it is carved. Be cautious though as thinner walls may make your Jack-O-Lantern more fragile when moving it.
3. Keep Your Pumpkin Cool
From the time you bring your pumpkin home until it is time to throw your Jack-O-Lantern away, you will want to keep it in a cool, somewhat dark area. If it is still warm in your neck of the woods in October, store your Jack-O-Lantern inside during the daytime. Have your Jack-O-Lantern avoid sunlight during the day. If your Jack-O-Lantern gets warm, the pumpkin will start to rot quickly. By placing your Jack-O-Lantern on the porch only in the evenings and taking your Jack-O-Lantern inside during the day time can help it last longer.
4. Moisturize Your Pumpkin
Rubbing petroleum jelly (aka Vaseline) on the cut surfaces of the Jack-O-Lantern will help keep your pumpkin from drying out as quickly, which will cause your Jack-O-Lantern to lose its shape. Apply petroleum jelly to the cut edges, not the inside of the Jack-O-Lantern, especially if you plan on using a candle inside your Jack-O-Lantern since as it is a fire hazard.
5. Allow Your Pumpkin to Breathe
When carving your Jack-O-Lantern, place a small notch or hole in the lid. This way, when you place the candle inside the Jack-O-Lantern, the smoke and heat have a way to escape. Otherwise, the pumpkin may start to cook which causes your Jack-O-Lantern to deteriorate more quickly.
You can find Jack-O-Lantern Carving Supplies for the best price on Amazon.


